...
The easiest way to see how the Custom HTML works is to use the existing built-in App Expenses Claims. Here are the steps:
| Steps | Screens (Click to view) |
|---|
- Start the Joget Server and open the App Center.
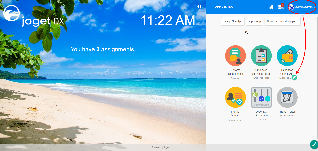
- Log in as admin and click on the pencil icon on the Expenses Claim to open the Design App. (see Figure 1)
- Click on Expense Claim Form and you will be directed to the Form Builder.
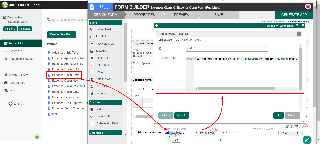
- Hover the mouse over the Custom HTML element on the canvas and click on Edit to open up the Edit Custom HTML properties. (see Figure 2)
|  Image Modified Image Modified
Figure 1
 Image Modified Image Modified
Figure 2
|
Custom HTML Properties
Edit Custom HTML
| Name | Description | Screen (Click to view) |
|---|
| ID | Element ID |  Image Modified Image Modified
|
| Custom HTML | Custom HTML in Form Builder can be used to achieve advanced form design by putting in any valid - HTML | Code Block |
|---|
| <b>this text is in bold</b> |
JavaScript (jQuery is supported)
Don’t forget to put in <script type="text/javascript"></script> block | Code Block |
|---|
| <script type="text/javascript">
alert("hello world");
</script> |
CSS
Don’t forget to put in <style type="text/css"></style> block | Code Block |
|---|
| <style type="text/css">
body{
font-size: 100%;
}
</style> |
|
Advanced Options
| Name | Description | Screen (Click to view) |
|---|
| Label | Element Label to be displayed to the end-user. |  Image Modified Image Modified
|
| Auto populate saved value? | Toggle to auto-populate saved value |


