Table of Contents
Introduction
| English |
|---|
The Multi Paged Form enables one to incorporate multiple forms in one single form, in a simple and elegant way. This form element is only available on Professional and Enterprise Edition. |
Get Started
The easiest way to see how the Multi Paged Form works are to use the existing built-in App Expenses Claims. Here are the steps:
- Start the Joget Server and open the App Center.
- Log in as admin and click on the pencil icon on the Expenses Claim to open the App Composer (see Figure 1).

Figure 1 - Click on the Create New Form button and fill up the Form Details as follows (see Figure 2):
- Form ID: multiPageForm
- Form Name: Multi Paged Form
- Table Name: j_expense_claim
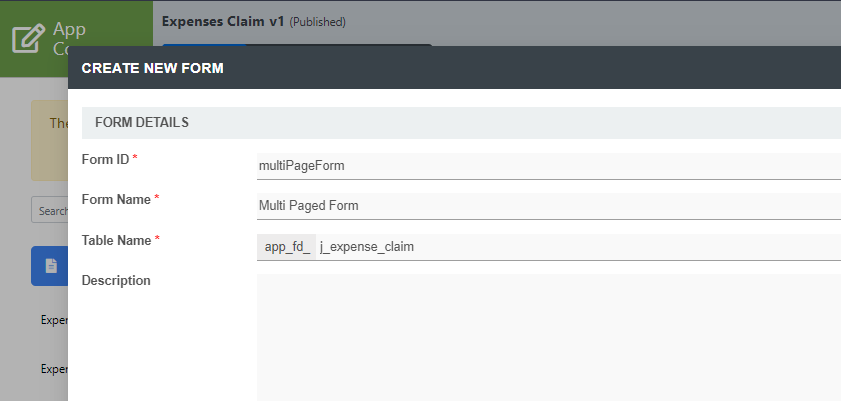
Figure 2 - Drag and drop a Multi Paged Form element on to the canvas.
- Click on the Multi Paged Form element to open up the Configure Multi Paged Form properties.
- Scroll Down to access the Page 1 properties. (see Figure 3)
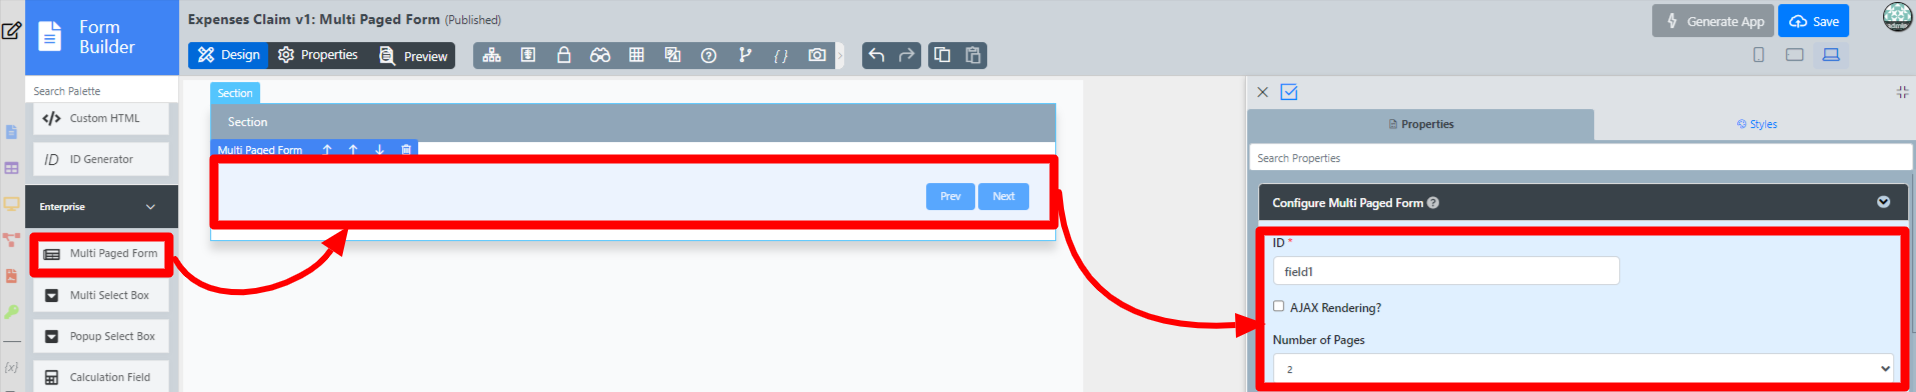
Figure 3 - In the Form field, select Expense Claim New and then Scroll Down to access the Page 2 properties.
- In the Form field, select Expense Claim Form and click on the Apply Change button (see Figure 4).
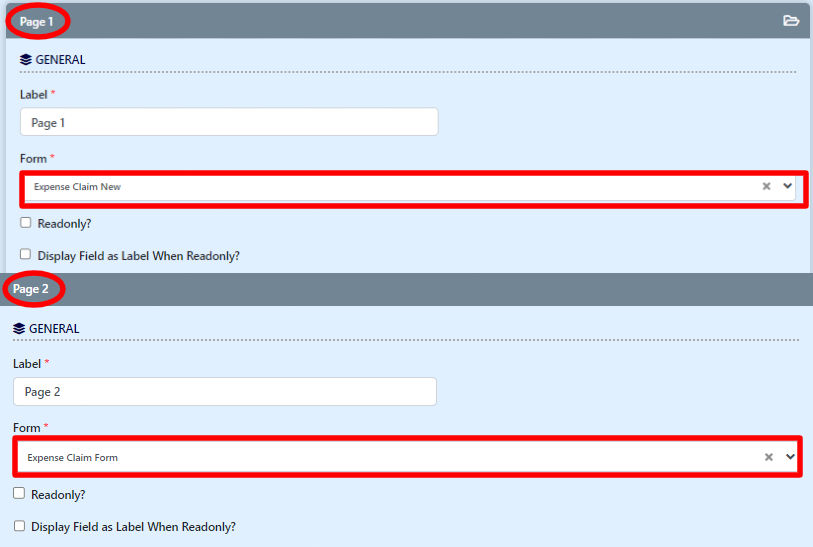
Figure 4 - Click on Preview and navigate between the forms by clicking on Page 1 or Page 2 to their respective forms. You can also click Prev and Next button at the lower corner to navigate between the forms. (see Figure 5)
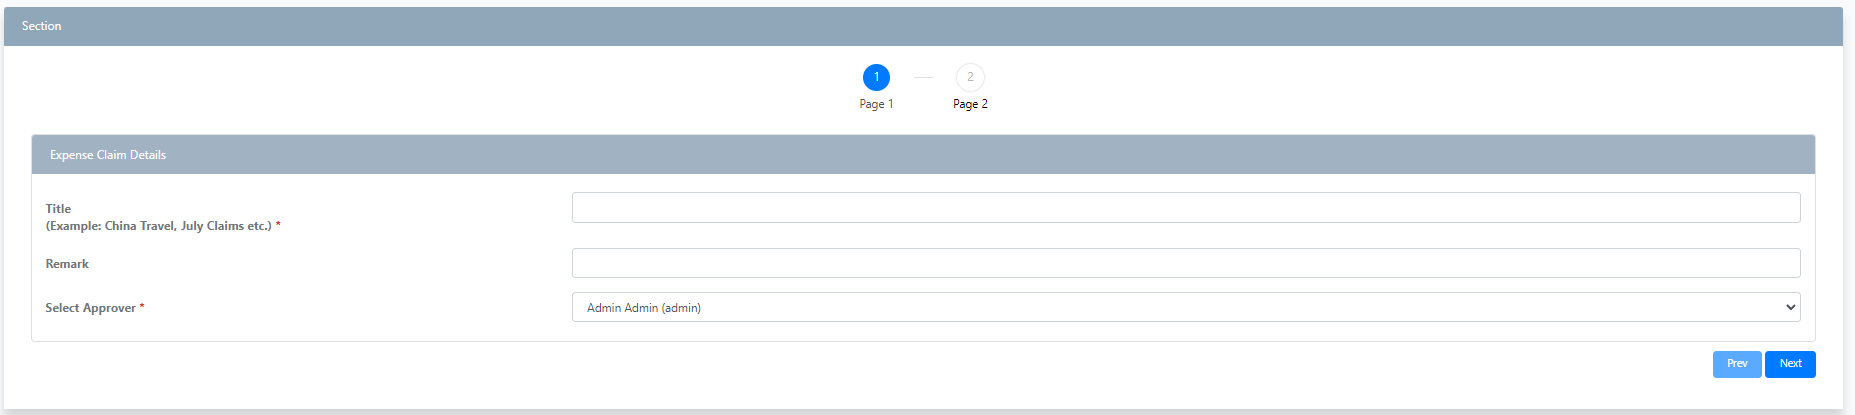
Figure 5
...