| Panel | ||||||||||
|---|---|---|---|---|---|---|---|---|---|---|
| ||||||||||
New feature added in Joget DX :
|
Table of Contents
Introduction
...
- Start the Joget Server and open the App Center.
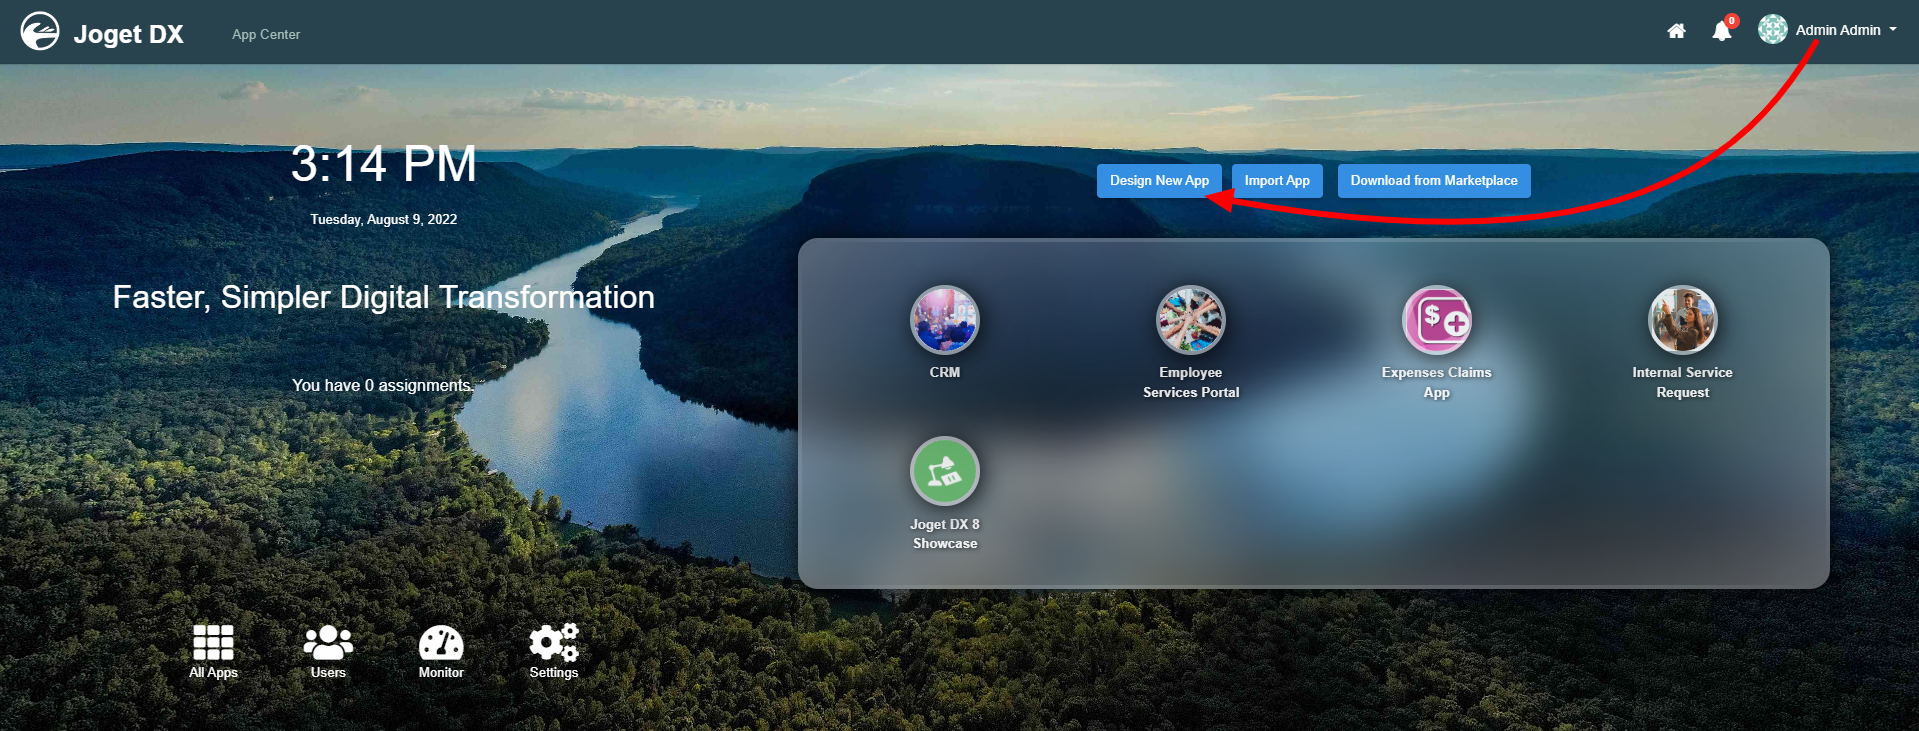
- Log in as admin and click on the Design New App button. (see Figure 1)
Figure 1 - Fill up the App Details as follows and click Save (see Figure 2):
- App ID: ajaxSubform
- App Name: AJAX Subform
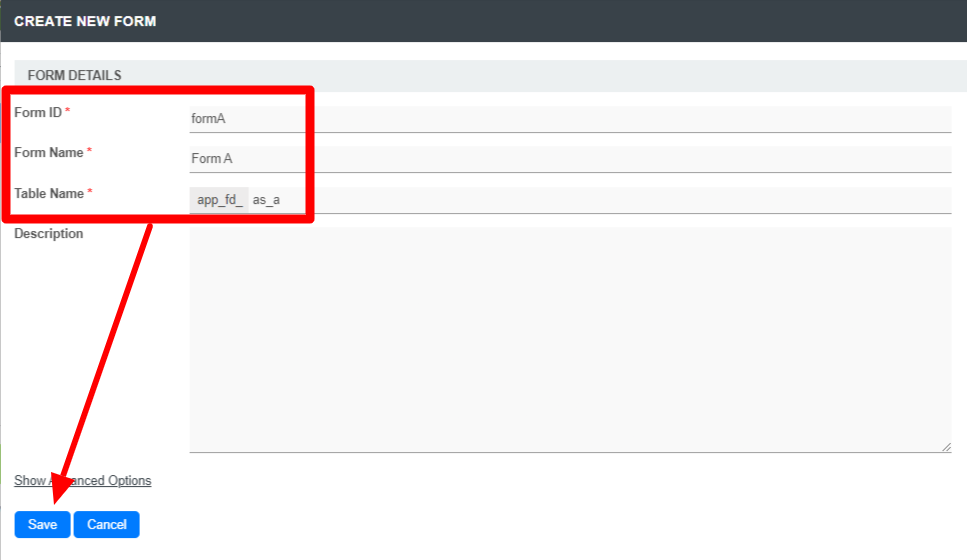
Figure 2 - You will be directed to the Design App. Click on the Create New Form button and fill up the Form Details as follows (see Figure 3):
- Form ID: formA
- Form Name: Form A
- Table Name: as_a
Figure 3 - Click on Save and you will be directed to the Form Builder.
- Drag and drop a Text Field element on to the canvas.
- Click on the Text Field element on the canvas to open up the Configure Text Field properties.
- Fill up the Edit Text Field properties as follows and click on OK (see Figure 4):
- ID: name
- Label: Name
Figure 4 - Click on Save on the Form Builder.
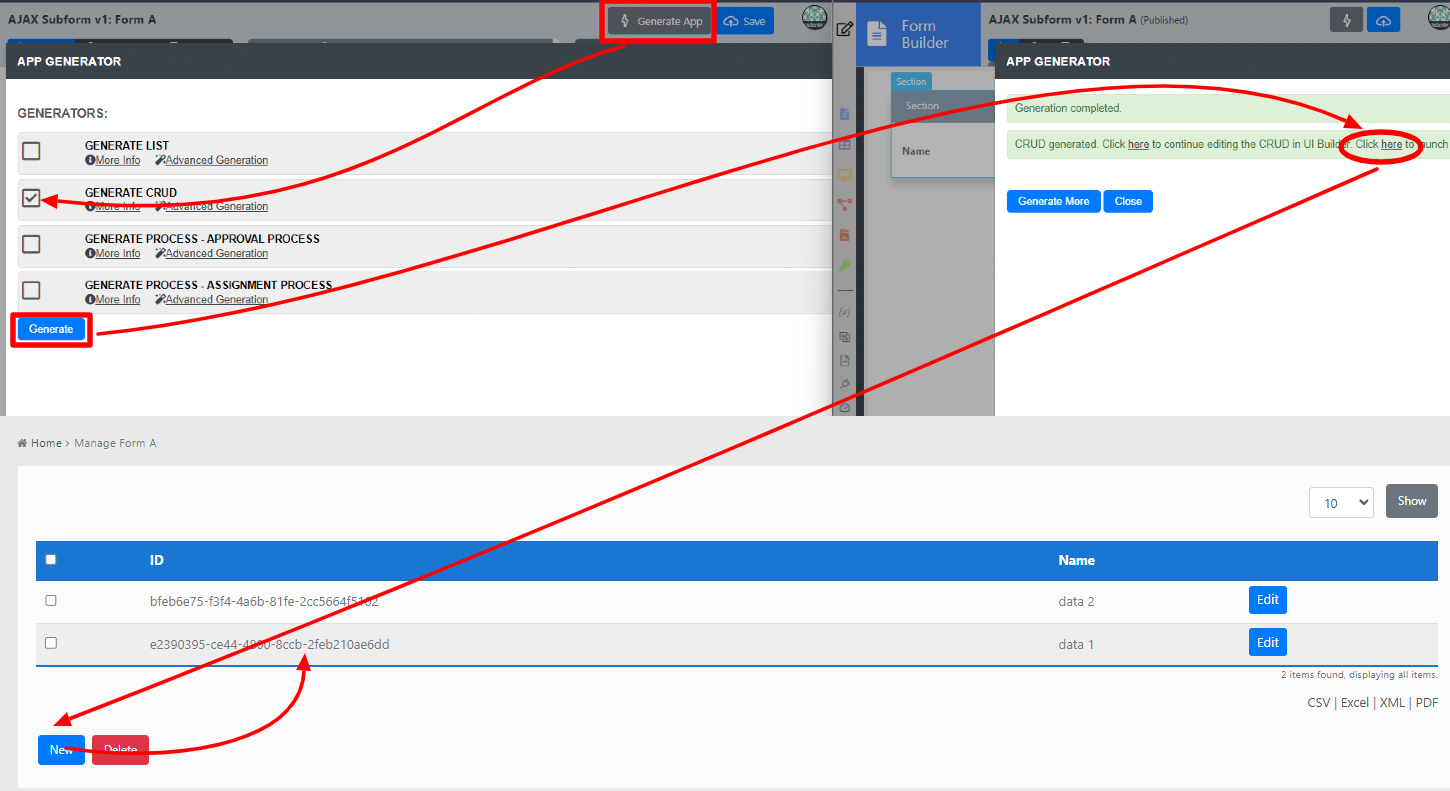
- Click on Generate App, select Generate CRUD and click OK (see Figure 5)
- Once the App Generator is complete, click on the link to launch the userview.
- Click on New button and Save at least 2 records of data (see Figure 5)
Figure 5 - Head back to the Design App.
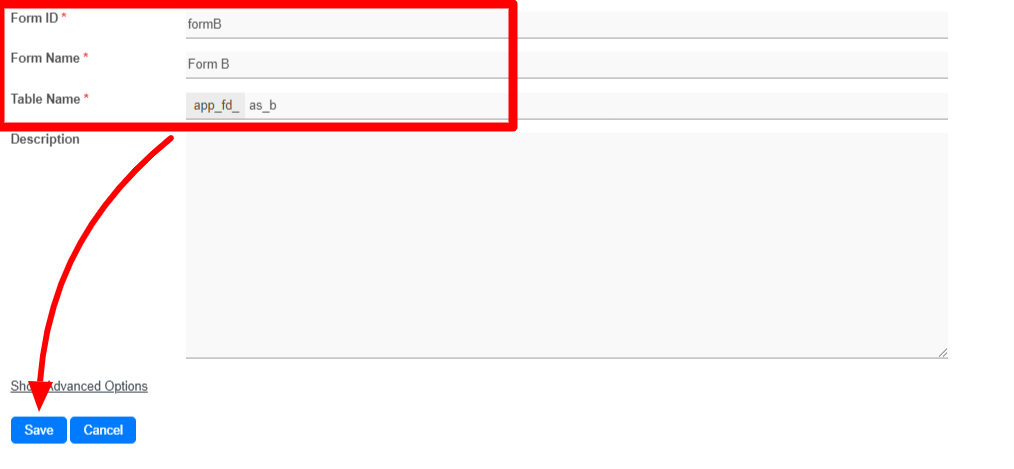
- Click on the Create New Form button and fill up the Form Details as follows (see Figure 6):
- ID: formB
- Form Name: Form B
- Table Name: as_b
Figure 6 - Click on Save and you will be directed to the Form Builder.
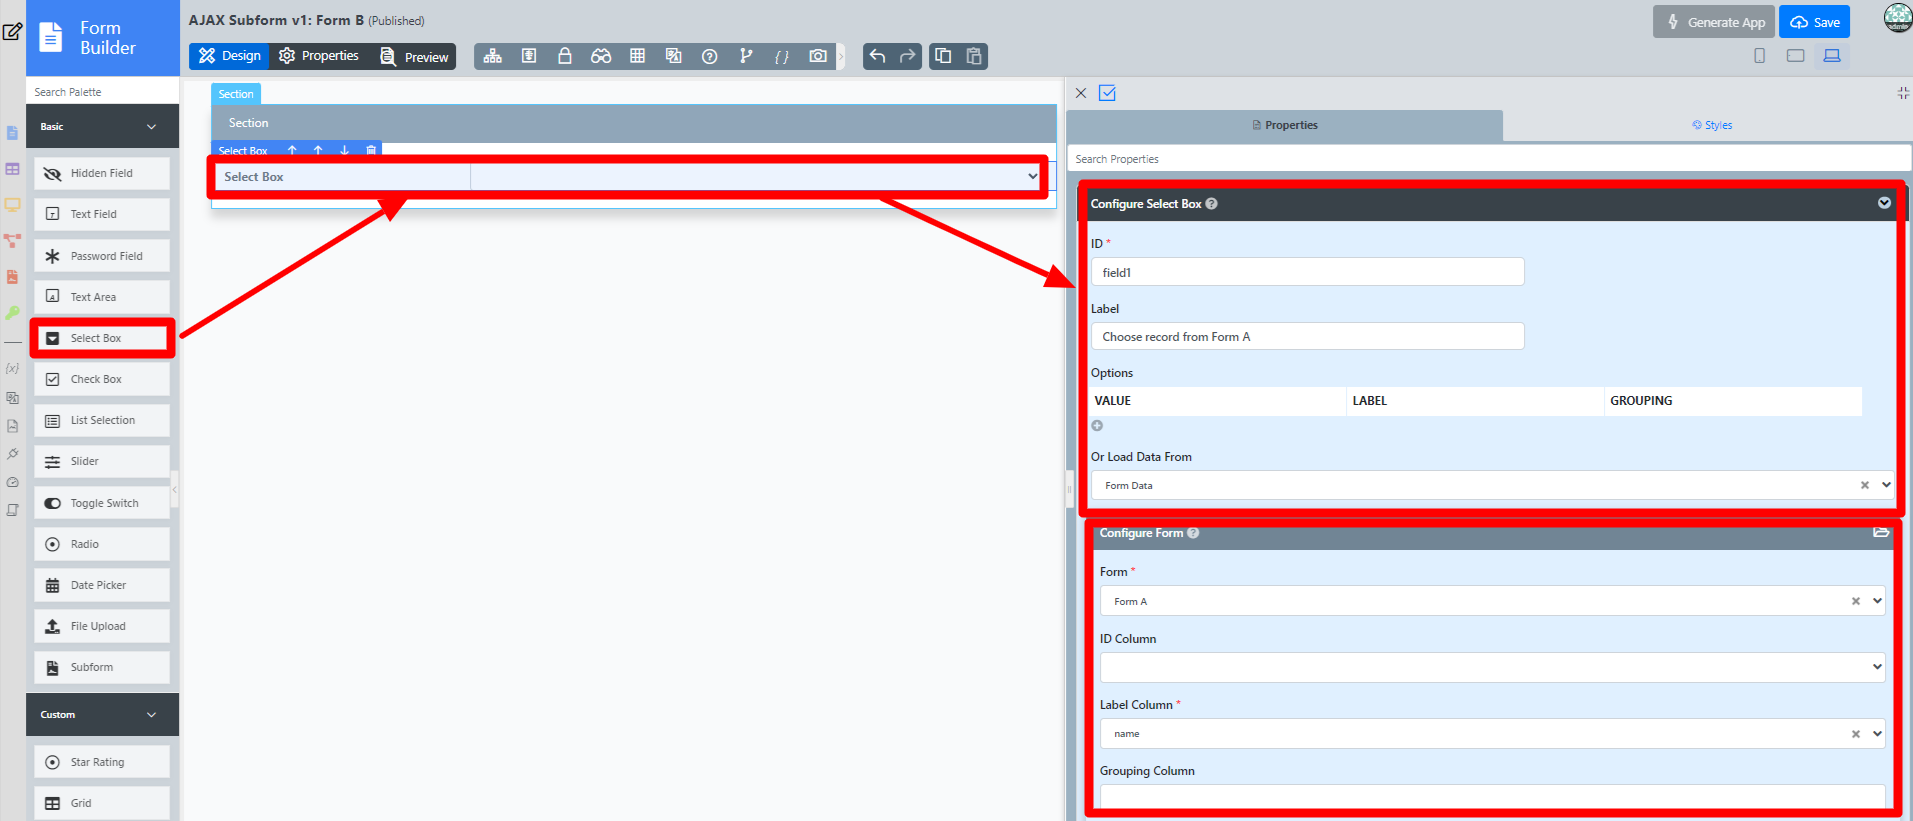
- Drag and drop a Select Box element on to the canvas.
- Click on the Select Box element on the canvas to open up the Configure Select Box properties.
- To Save any changes in any Configuration Properties, Click on Apply Change.
- Fill up the Edit Select the Configure Select Box properties as follows and click on Next (see Figure 7):
- Label: Choose record from Form A
- Choose Options Binder:
- Form
- Data
- Label: Choose record from Form A
- Fill up the following details in the Edit Select Box and click OK Configure Select Box properties as follows(see Figure 7):
- ID: field1
- Form: Form A
- Label Column: name
Figure 7 - Drag and drop an AJAX Subform element on to the canvas.
- Click on the AJAX Subform element on the canvas to open up the Configure AJAX Subform properties.
- Fill up the Edit AJAX Subform Configure AJAX Subform properties as follows and click on Next (see Figure 8):
- Form: Form A
- Tick the first three checkboxes and click Next (see Figure 8)
a. Reload Subform When Parent Field Value Change
b. Readonly
c. Display Field as Label When Readonly?
Figure 8
24. Fill up the Edit AJAX Subform Configure AJAX Subform properties as follows and click on OK (see Figure 8):
- Parent Field to keep Subform ID: field1 (see Figure 9)
Figure 9
25. Click on Preview and select between the records in the Select Box to see the Subform dynamically loads the appropriate record.
...
