...
- Start the Joget Server and open the App Center.
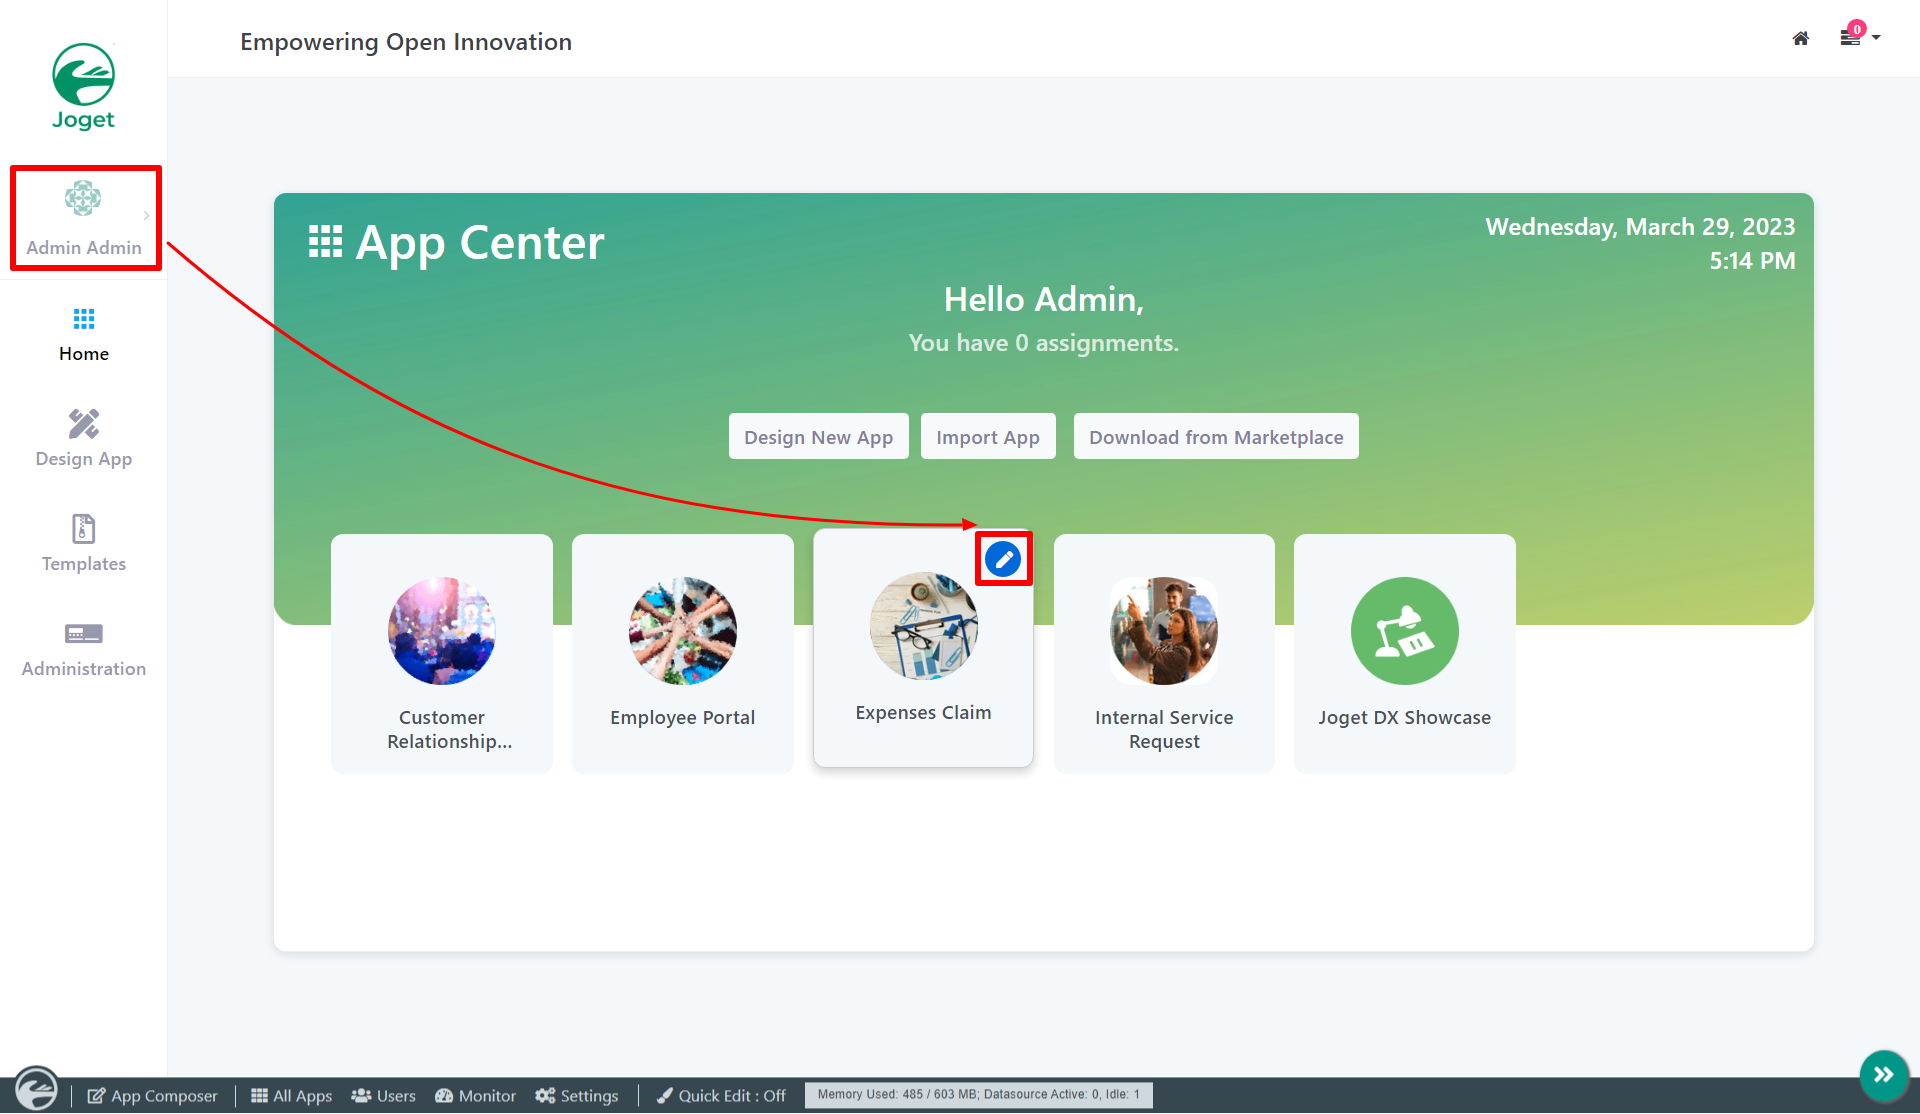
- Log in as admin and click on the pencil icon on the Expenses Claim to open the App Composer. (see Figure 1)
Figure 1 - Click on "Create New Form" and fill up the Form Details as follows (see Figure 2):
- Form ID: advGrdTest
- Form Name: Advanced Grid Test
- Table Name: test
Figure 2 - Click on the Save button and you will be directed to the Form Builder.
- Drag and drop the Advanced Grid element on to the canvas.
- Click the Advanced Grid element on the canvas and open up the Configure Advanced Grid properties.
- Fill up the Edit Advanced Grid properties as follows and click on OK (see Figure 3):
- ID : entries
- Form: Expense Claim Entry
Columns :
Field ID* Label Format Type date Date Date category Category purpose Purpose amount Amount Decimal
Figure 3 - Remember to click Apply Change and Save it.
- Click on Preview to open up the Preview tab, try clicking on each column in the Advanced Grid and notes each column's behavior. (see Figure 4)
Figure 4 - Open up Expense Claim Entry and note the Field ID's are the same as written in the Edit Advanced Grid. This is how the Advanced Grid mimics the targeted fields we listed in the step 7c from said target form. (see Figure 5)
Figure 5
...


